Introduction
Spaces is the workspace layer of StartOS — a lightweight runtime for organizing services, data, and collaborators into isolated environments you can spin up, snapshot, and tear down on demand. Whether you're prototyping a side project or operating a fleet of production deployments, Spaces gives you a consistent, reproducible foundation.
This guide will walk you through installing StartOS, performing the initial setup, and launching your first Space. By the end, you'll have a running instance with one workspace ready for work.
Prerequisites
Before you begin, make sure you have:
- A machine running macOS 12+, Ubuntu 20.04+, or Windows 10+ (with WSL2).
- At least 4 GB of RAM and 10 GB of free disk space.
- Administrator (sudo) access on the target machine.
- Network access to
downloads.startos.example. - A StartOS account — create one for free if you don't have one.
1. Install StartOS
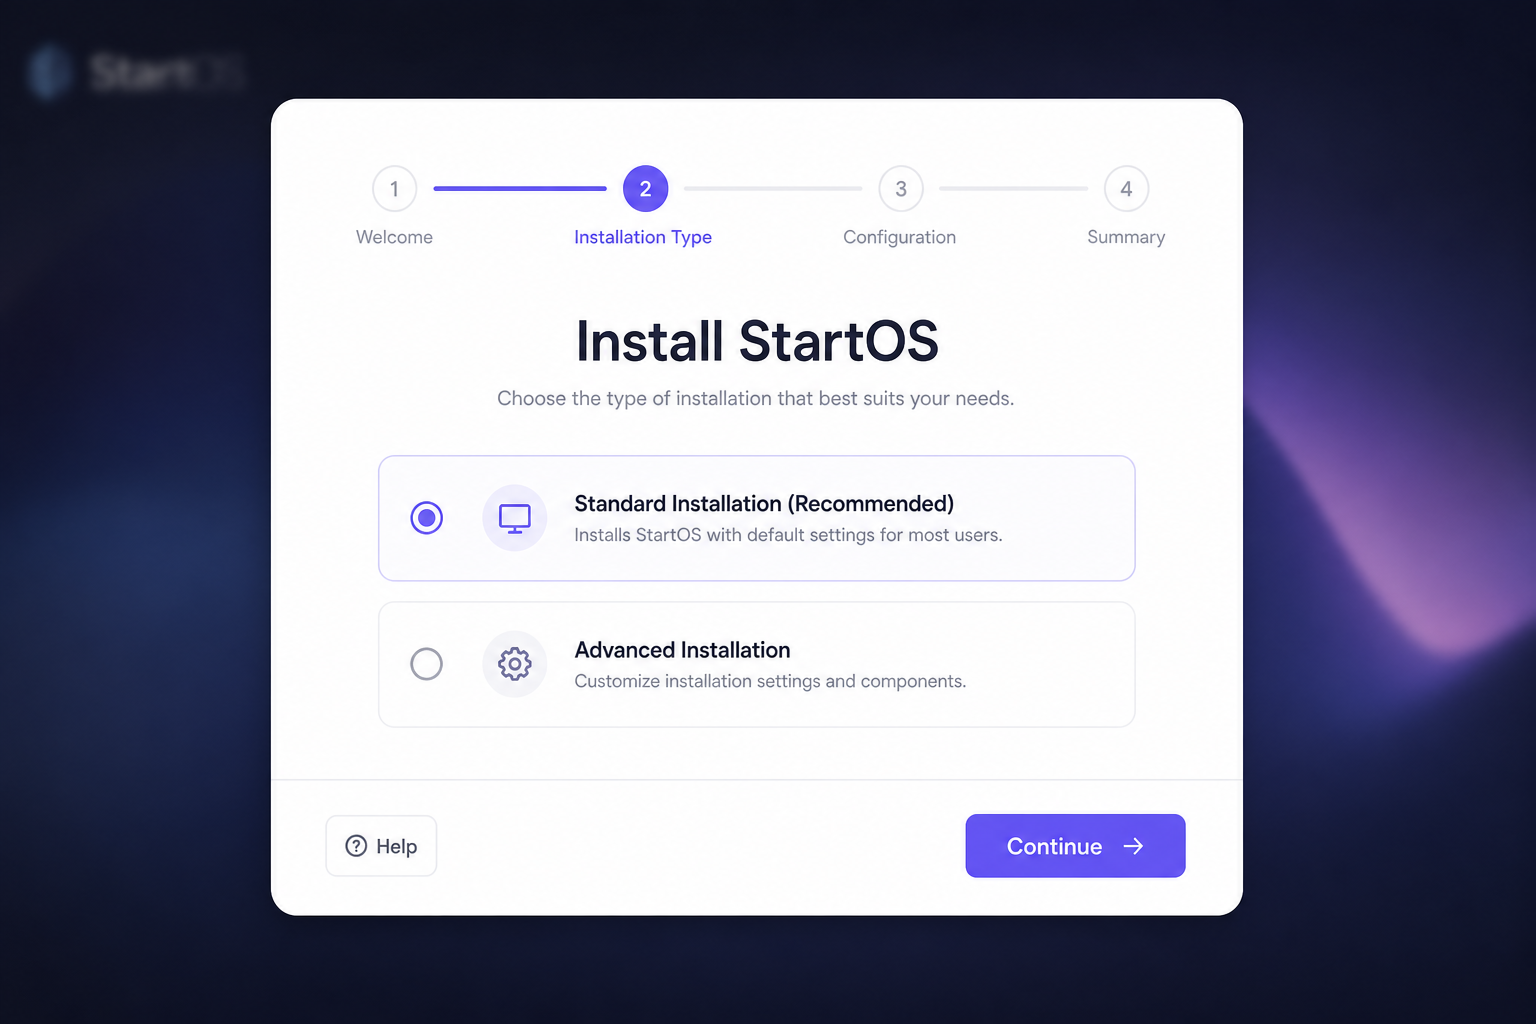
The fastest way to install StartOS is via the official installer. It bundles the runtime, CLI, and a local control plane into a single setup flow.
Download the installer
Open a terminal and run the install script:
$ curl -fsSL https://get.startos.example | shThe installer will detect your platform, fetch the appropriate package, and guide you through a four-step wizard. When prompted, select Standard Installation unless you have specific infrastructure requirements.
--headless to skip the GUI wizard:
sh -c "$(curl -fsSL https://get.startos.example) --headless".
2. Configure your instance
Once StartOS is installed, open the dashboard at
http://localhost:8080. You'll be guided through a short
first-run configuration. Most users only need to set a hostname, choose a
port, and enable HTTPS.
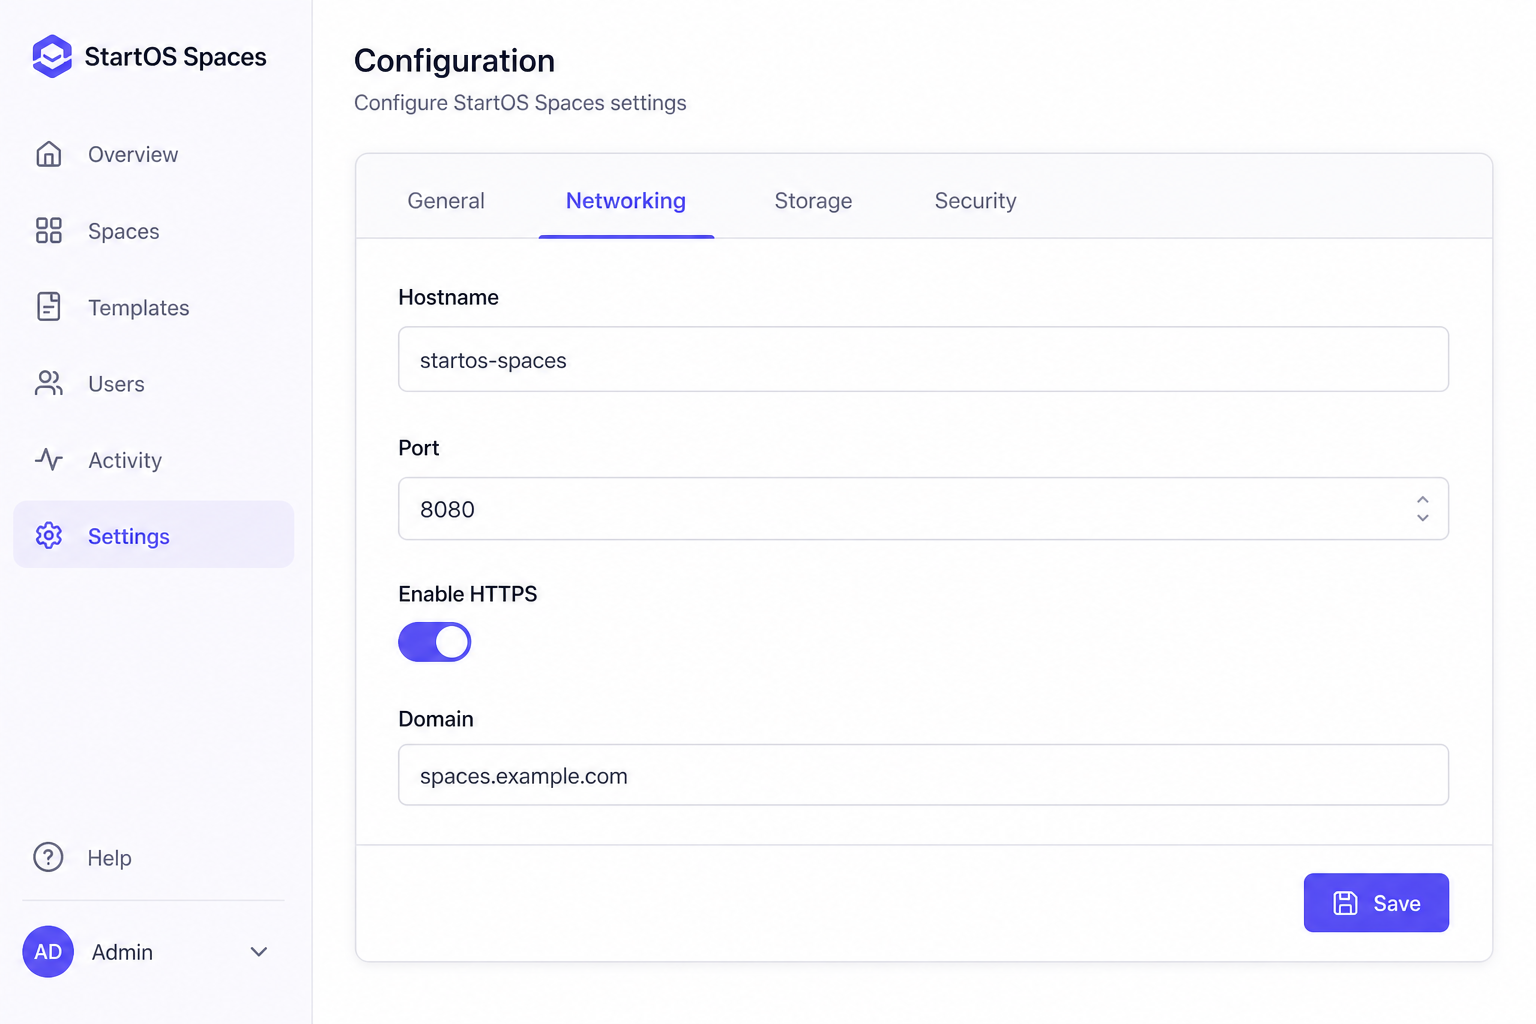
Recommended defaults
| Setting | Recommended value | Notes |
|---|---|---|
| Hostname | startos-spaces |
Used for service discovery. |
| Port | 8080 |
Change if another service is bound. |
| Enable HTTPS | On | StartOS will provision a self-signed cert. |
| Domain | spaces.example.com |
Optional — leave blank for local-only access. |
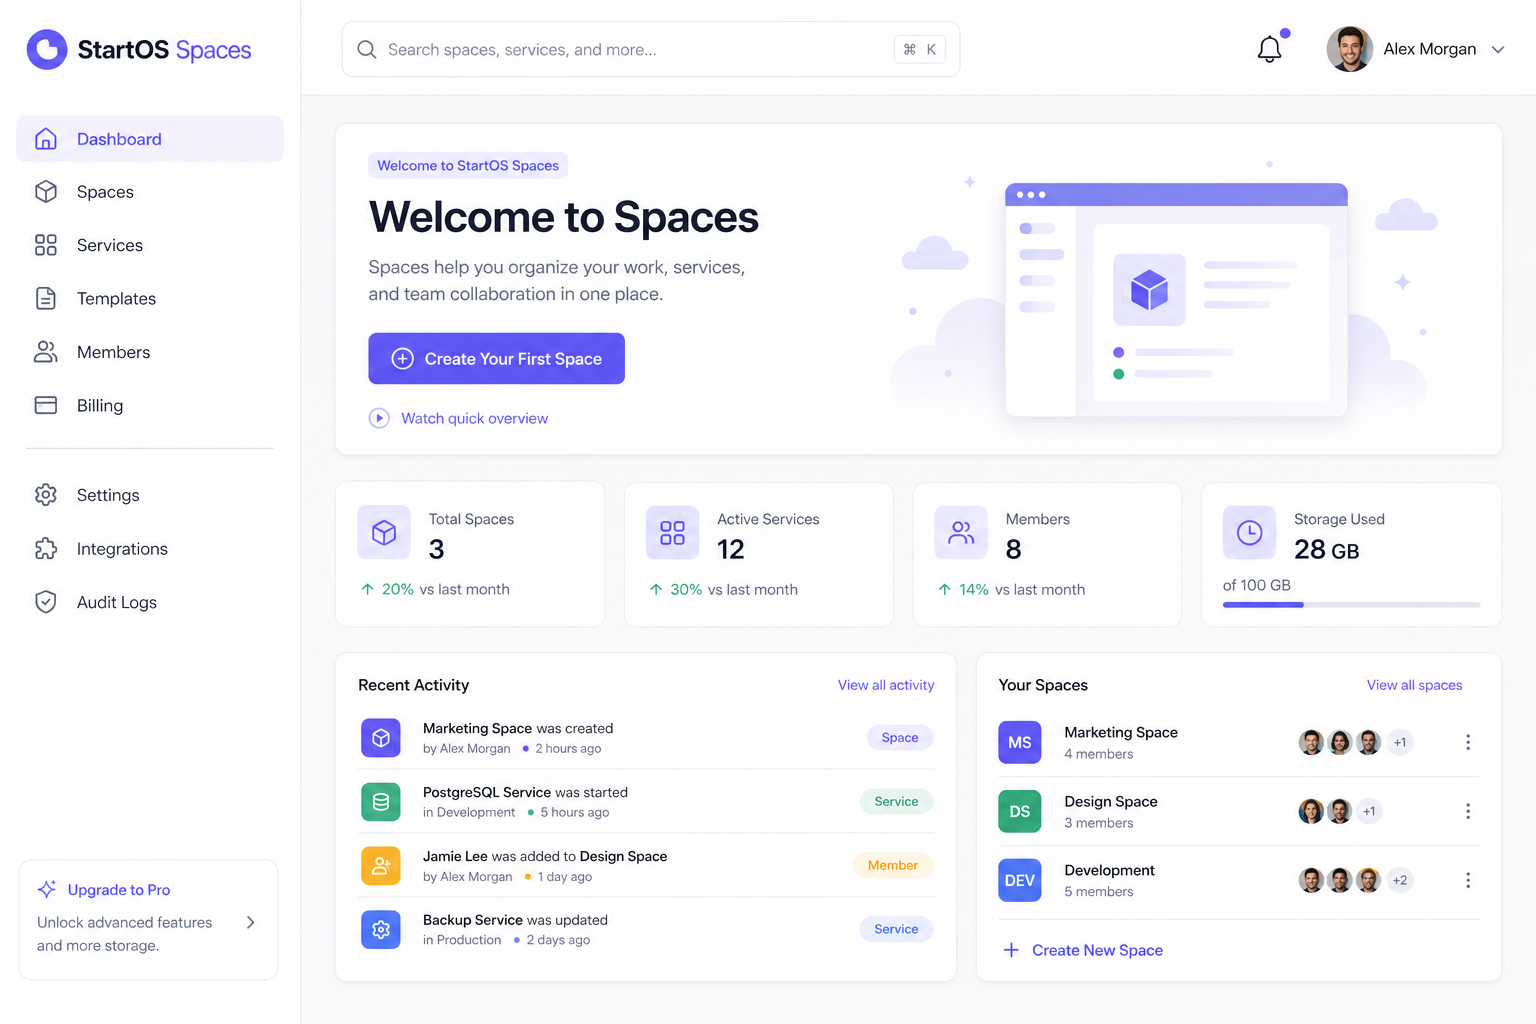
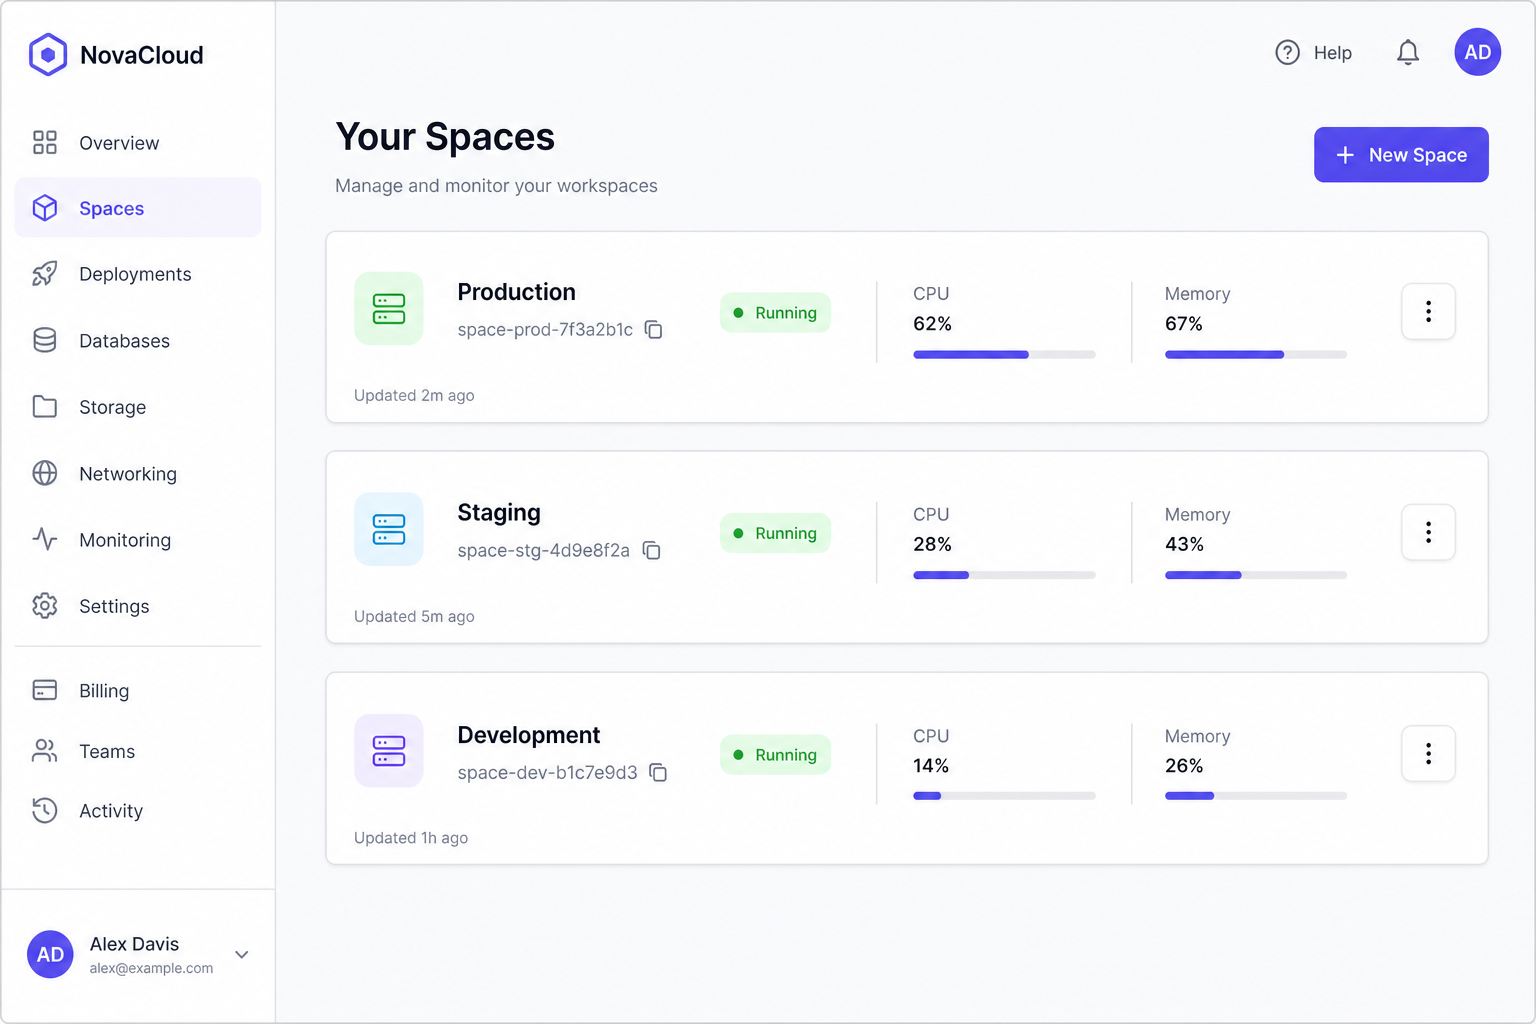
3. Create your first Space
From the dashboard, click Create Your First Space. Give your Space a name, pick the region closest to you, and choose a resource tier. The Medium tier is a good starting point for most projects.
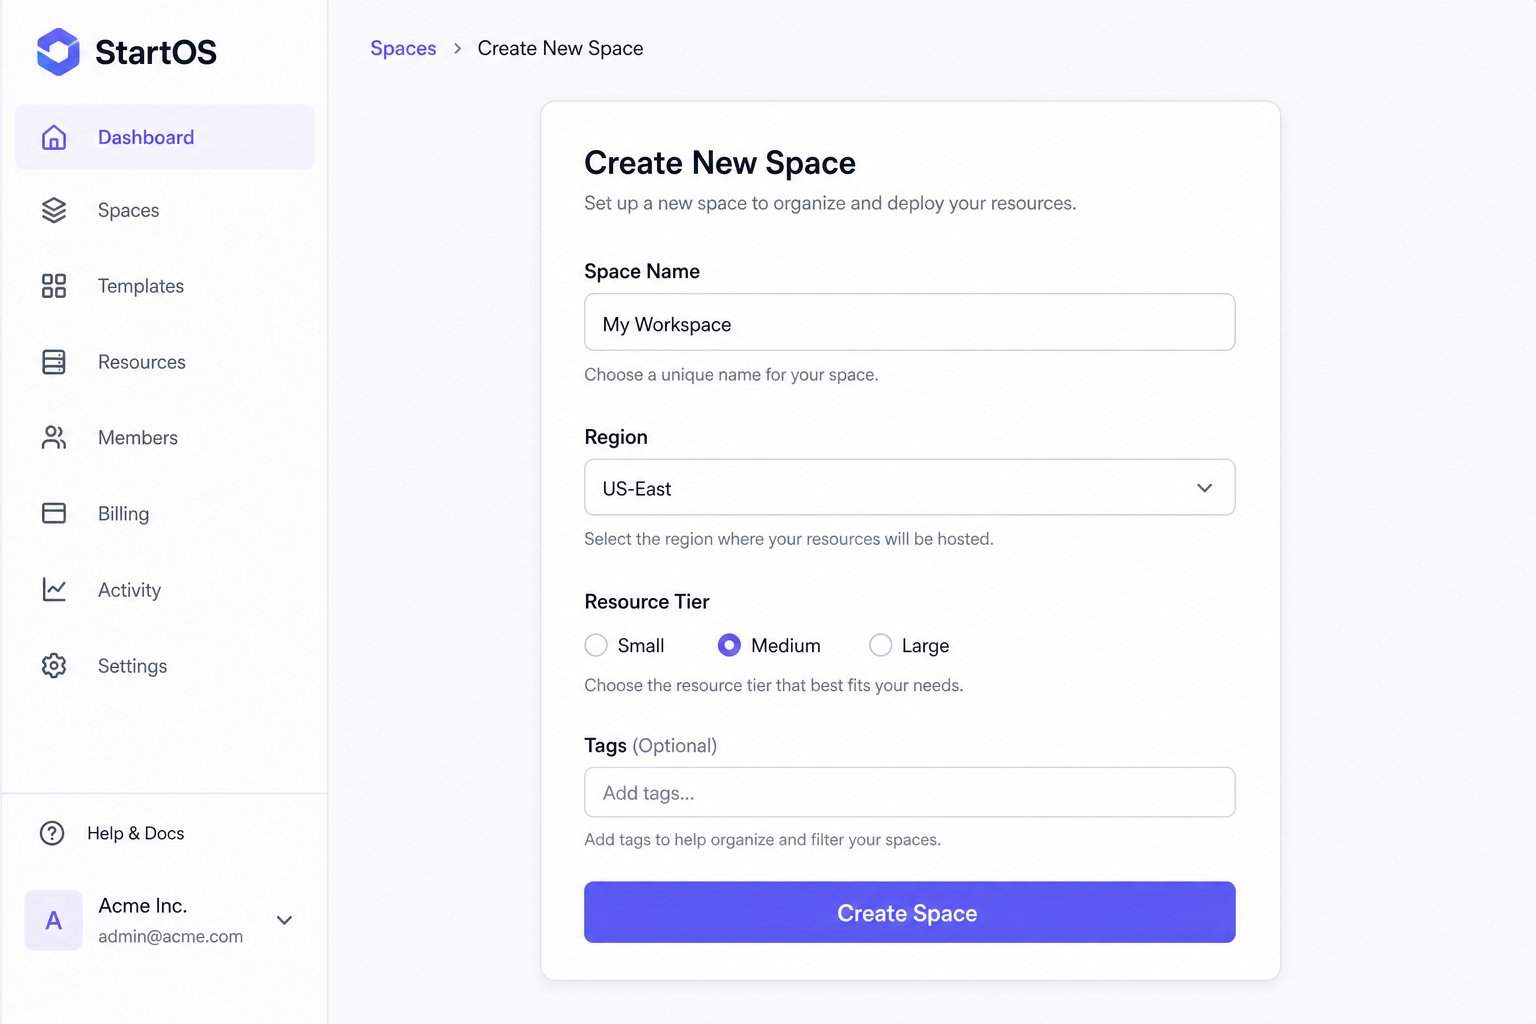
- Name your Space. Use something descriptive like
my-workspaceoracme-prod. - Pick a region. Latency-sensitive workloads should run closest to their users.
- Choose a tier. You can resize the Space later without downtime.
- (Optional) Add tags. Tags make it easier to filter Spaces in larger teams.
- Click Create Space. You'll be redirected to the Space's overview page.
After a few moments, your Space will appear in the Spaces list with a green Running badge.
4. Verify the installation
From any terminal, you can confirm that StartOS is healthy and that all services are reporting in:
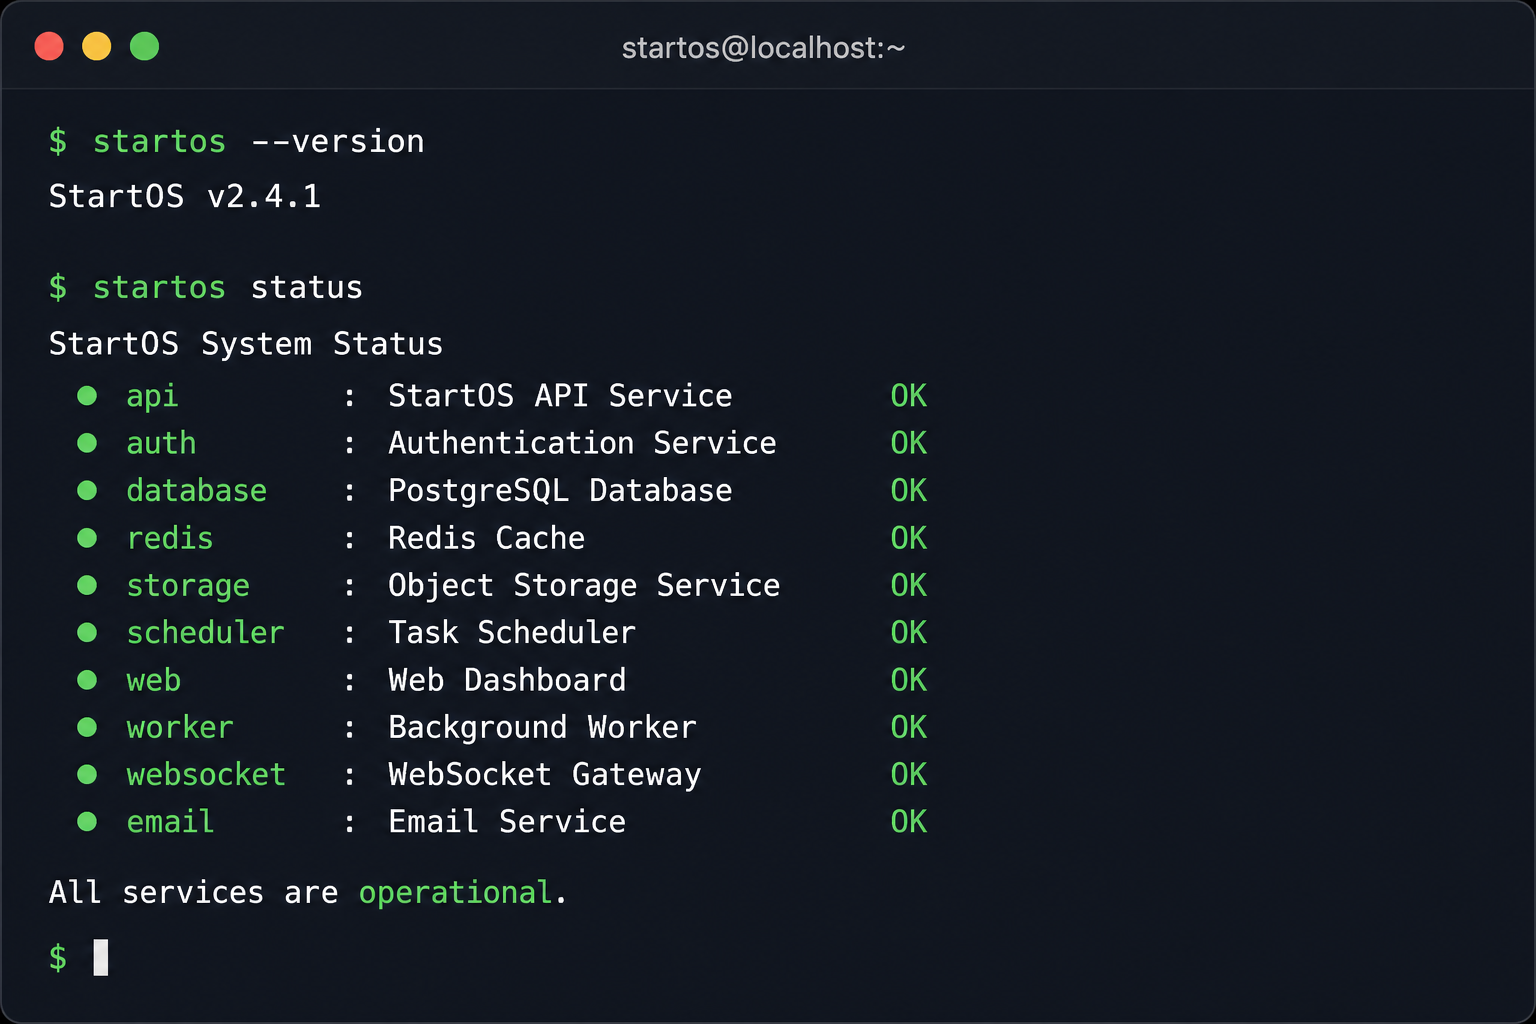
startos status should report every service as OK.
If any service is in a DEGRADED or DOWN state, jump
to the Troubleshooting section below.
Troubleshooting
The installer fails with "port 8080 is in use"
Another service is already bound to port 8080. Either stop the
conflicting service or re-run the installer with
--port 9090 to use a different port.
The dashboard won't load at http://localhost:8080
Run startos status in a terminal. If the
web service is not reporting OK, restart it with
startos restart web.
I see "Permission denied" during install on Linux
The installer needs to write to /usr/local/bin. Re-run the
script with sudo, or specify a writable prefix with
--prefix=$HOME/.local.
My Space is stuck on "Provisioning"
Provisioning typically completes in under a minute. If it takes longer, check the activity log on the Space's overview page. Most often this indicates a temporary region capacity issue — try a different region.
Next steps
You're up and running. Here are some good places to go from here: